Nail Care Tips
How to Prepare Your Natural Nails Before Applying Press-Ons
May
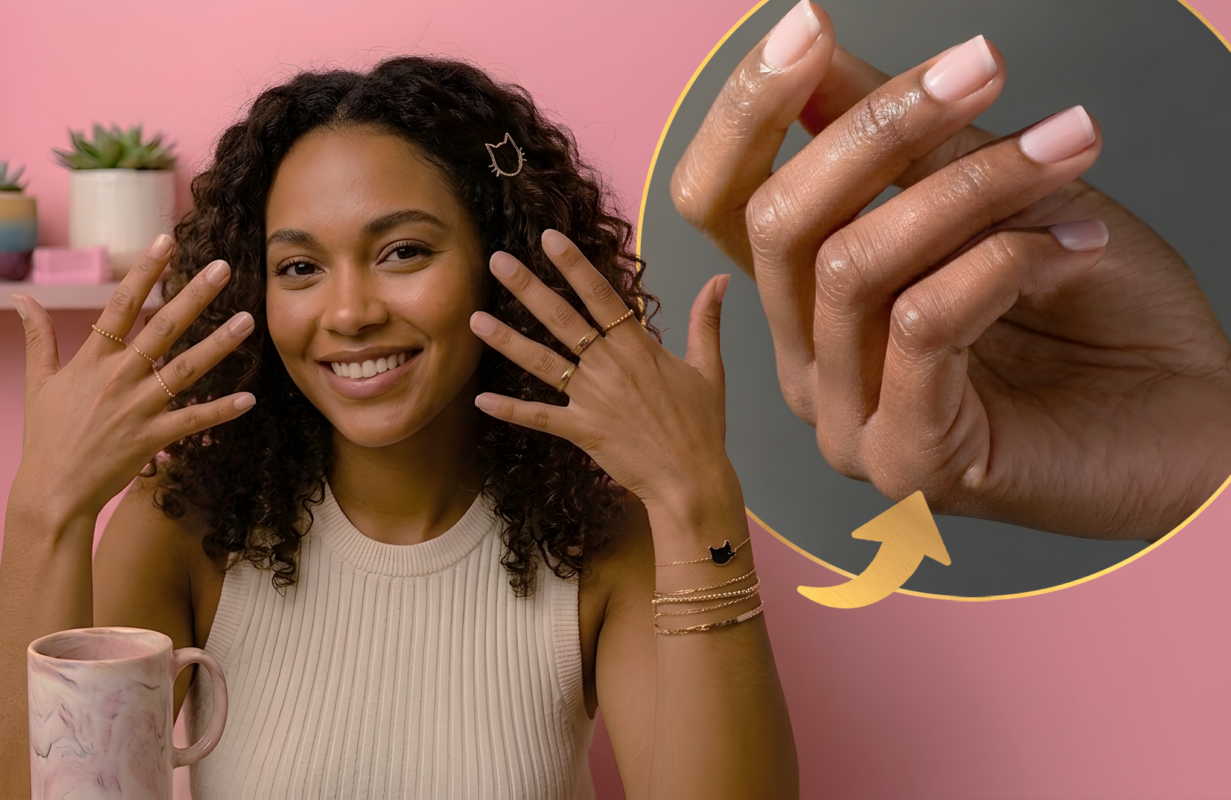
A long-lasting press-on manicure starts with clean, well-prepped natural nails. Before you apply glue or adhesive tabs, a few simple steps can help your press-ons fit better, look smoother, and stay secure for longer.
Press-on nails can look salon-fresh at home, but the final result depends a lot on what happens before application. If your nails are oily, dusty, or uneven, even the prettiest press-on set may lift sooner than expected.
Nail prep does not need to be complicated. You do not need professional tools or a long routine. The goal is simply to create a clean, dry, smooth surface so the press-on nail can sit comfortably and bond properly.
This beginner-friendly guide will walk you through how to prepare your natural nails before applying press-ons, from shaping and cuticle care to buffing and cleaning.
What to Know Before Prepping Your Natural Nails
Good nail prep helps press-on nails stay on better, but it should still be gentle. You want to remove oil and shine from the nail surface without over-filing or weakening your natural nails.
Before you begin, make sure you have a clean workspace and a few simple tools ready.
- Nail file
- Soft nail buffer
- Cuticle pusher or wooden stick
- Alcohol pad or lint-free wipe
- Small towel
- Your press-on nail set
- Nail glue or adhesive tabs
How to Prepare Your Natural Nails Before Applying Press-Ons
Take your time with these steps. A few extra minutes of nail prep can make your press-on manicure look cleaner and last longer.
Step 1: Start With Clean Hands
Wash your hands with soap and water, then dry them completely. Pay attention to the nail area and make sure there is no lotion, oil, or residue left behind.
Press-on nails need a dry surface to bond well, so do not rush this step.
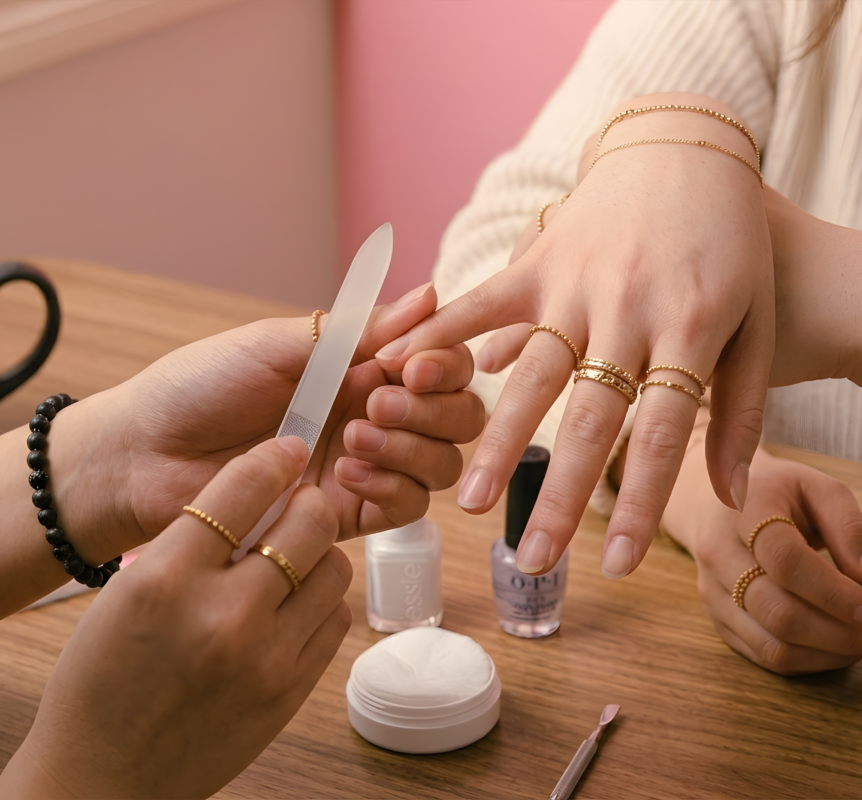
Step 2: Shape Your Natural Nails
Use a nail file to lightly shape your natural nails. You do not need them to be long. In fact, short, smooth natural nails often make press-ons feel more comfortable.
File any sharp corners or uneven edges so the press-on nail can sit neatly on top.
Step 3: Gently Push Back Your Cuticles
Use a cuticle pusher or wooden stick to gently push back the cuticle area. This helps create more space for the press-on nail and gives the finished manicure a cleaner look.
Do not cut or force your cuticles. Gentle pressure is enough.
Step 4: Lightly Buff the Nail Surface
Use a soft buffer to remove shine from the surface of each natural nail. The nail should look slightly matte, not thin or scratched.
This step helps nail glue or adhesive tabs grip better. Avoid heavy buffing, especially if your nails are already thin or sensitive.
Step 5: Wipe Away Dust and Oil
After buffing, wipe each nail with an alcohol pad or lint-free wipe. This removes dust, oil, and moisture from the nail surface.
Let your nails dry fully before applying glue or adhesive tabs. Clean, dry nails are one of the biggest secrets to a longer-lasting press-on manicure.
Step 6: Match Your Press-On Nail Sizes
Before applying, match each press-on nail to your natural nails. The press-on should cover your nail from side to side without touching the skin.
If a nail feels slightly too wide, gently file the sides for a better fit. A well-fitted press-on is less likely to lift or feel uncomfortable.
Common Nail Prep Mistakes to Avoid
Nail prep should make your manicure last longer, not damage your natural nails. Try to avoid these common mistakes before applying press-ons.
Final Tips for Better Press-On Nail Prep
The best nail prep routine is simple: clean, shape, gently push back cuticles, lightly buff, and wipe away oil before application.
If you are using nail glue, apply a thin, even layer and press each nail firmly for a secure hold. If you are using adhesive tabs, make sure the tab sits flat and covers enough of the nail surface.
Once your press-ons are applied, avoid water, lotion, and cuticle oil for the first few hours. Giving the adhesive time to set can help your manicure stay smooth, comfortable, and long-lasting.