Nail Care Tips
How to Remove Press-On Nails Without Damaging Your Natural Nails
Jun
Removing press-on nails should feel gentle, not stressful. The key is to soften the glue first, take your time, and never pull the nails off by force. Here is a simple at-home guide to help you remove press-on nails safely while keeping your natural nails healthy.
Press-on nails are easy to love. They give you a polished manicure in minutes, they are simple to change, and they make at-home nails feel a little more special. But when it is time to take them off, removal deserves the same care as application.
If you have ever peeled off a press-on nail and noticed your natural nail looking rough, dry, or thin afterward, the damage likely came from forcing the nail off while the glue was still attached. That is why a slow, gentle removal method matters.
The good news is that you do not need salon tools to do it properly. With warm water, a little cuticle oil, and a few extra minutes, you can remove press-on nails at home without hurting your natural nails.
What You Need to Remove Press-On Nails Safely
You only need a few basic items to loosen the glue and protect your nails during removal. Keep everything nearby before you start so you are not tempted to rush.
- A small bowl of warm water
- Gentle hand soap or a few drops of cuticle oil
- A wooden cuticle stick or orange stick
- A soft nail buffer
- A clean towel
- Cuticle oil or nail oil
- Hand cream
How to Remove Press-On Nails Step by Step
The safest rule is simple: if the nail does not lift easily, do not force it. Soak again and try gently. Press-on nail removal should not hurt.
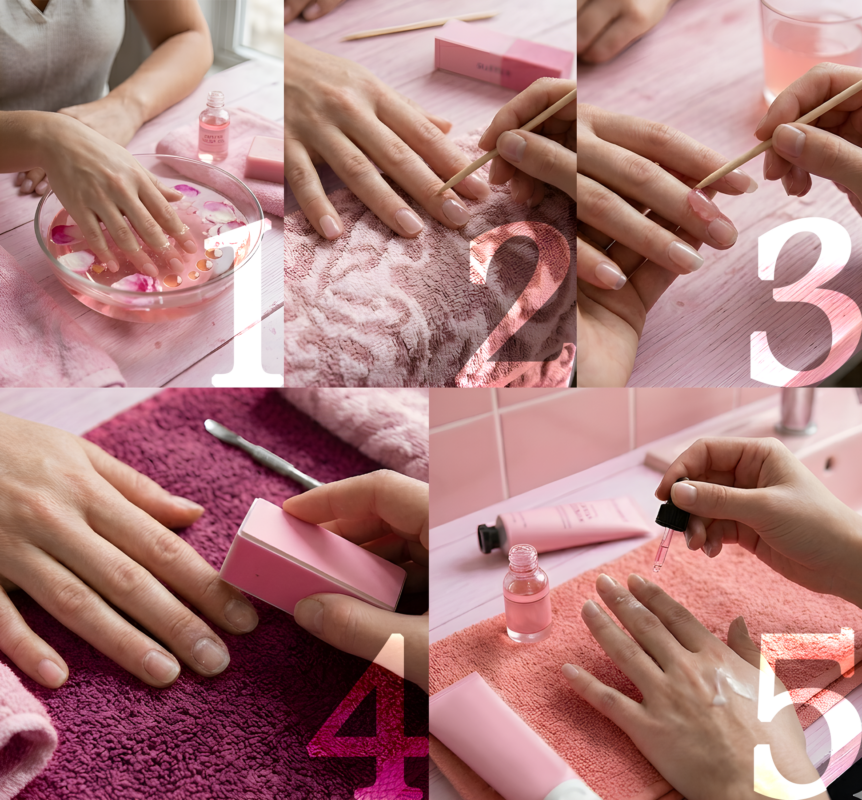
Step 1: Soak Your Nails in Warm Water
Fill a small bowl with warm water. Add a little gentle soap or a few drops of cuticle oil, then soak your nails for about 10 to 15 minutes.
The water should feel warm and comfortable, not hot. This helps soften the nail glue so the press-on nails can release more easily.
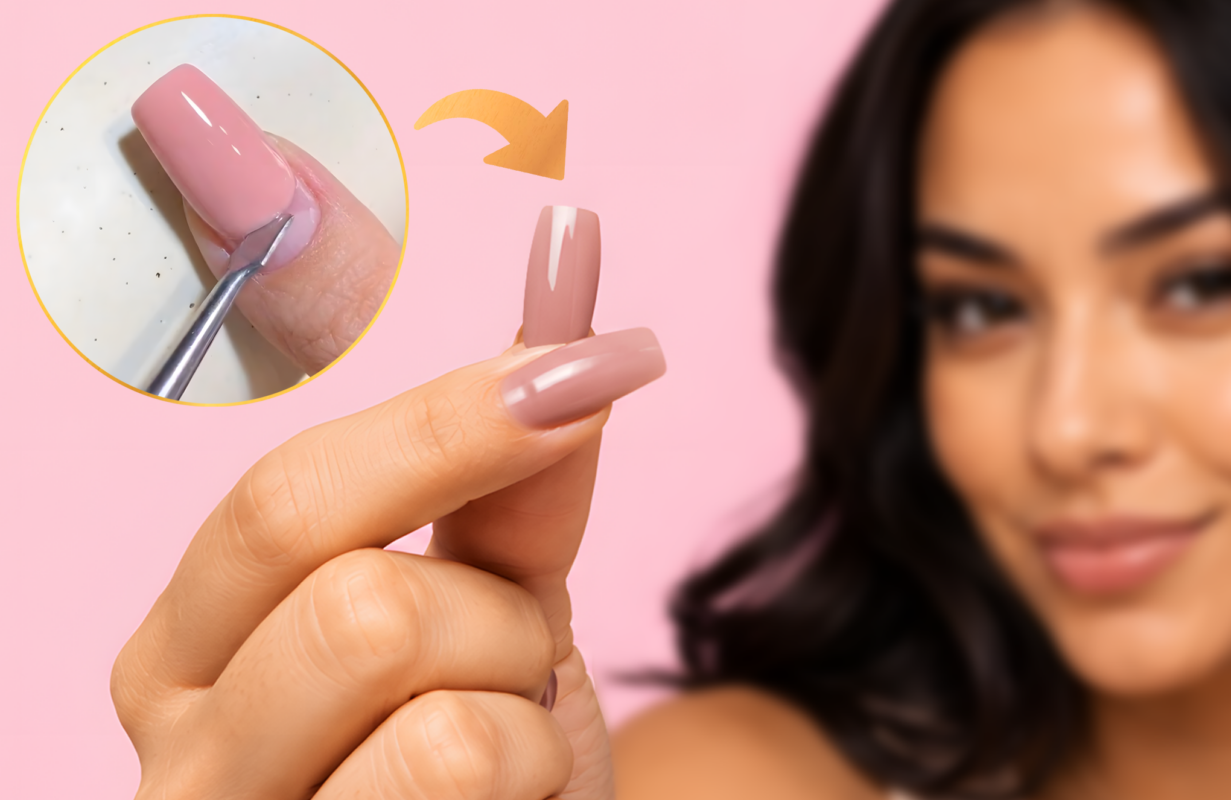
Step 2: Check the Edges Gently
After soaking, look around the sides of each nail. If you see a small gap near the edge, the glue is starting to loosen.
Use a wooden cuticle stick to lightly test the lifted area. Do not dig under the nail or push hard. If it does not move easily, soak again.
Step 3: Lift Slowly From the Side
Once a press-on nail feels loose, lift it gently from the side instead of pulling it straight up. Work little by little and let the nail release naturally.
If you feel pulling, tightness, or discomfort, stop right away. That means the glue is still holding on. Soak for a few more minutes before trying again.
Step 4: Clean Up Leftover Nail Glue
After the press-ons are removed, you may notice a little nail glue left on your natural nails. Soak again if needed, then gently smooth the surface with a soft buffer.
Use light pressure and avoid over-buffing. The goal is to remove glue residue, not thin out your natural nail.
Step 5: Wash and Moisturize
Wash your hands gently, dry them well, then apply cuticle oil around each nail. Finish with hand cream to help your nails and skin feel soft again.
If your nails feel sensitive after removal, give them a short break before applying your next set.
Common Mistakes to Avoid
Most nail damage happens when removal is rushed. These are the small mistakes that can make your natural nails feel weak or rough afterward.
Natural Nail Care After Removing Press-On Nails
After removing press-on nails, your natural nails may feel a little dry. That is normal, especially if you wore your set for several days or used strong nail glue.
Keep aftercare simple. Apply cuticle oil, moisturize your hands, and avoid picking at any leftover residue. If your nails feel thin or sensitive, let them rest before applying another set.
When you are ready for your next manicure, make sure your nails are clean, dry, and fully prepped before applying a fresh set. A gentle removal routine and good nail prep will help your press-on nails look better, feel more comfortable, and keep your natural nails in healthier condition over time.